So last night Ouest had a nightmare and couldn’t sleep for hours. In the morning she explained that it had been about the scary-lady-on-the-picture-by-the-bathroom. When we went in to the hotel (we stayed at the rv park/casino hotel) to use the pool again this morning I took the kids to the bathroom—because every time we go swimming we’re in there for five minutes when one of them announces they have to go—when we spotted the scary lady picture. It was Marilyn Monroe. Black background, white face, bright red lips—not exactly nightmare scary but…
And yes, I’m grateful my kids call out that they need to use the bathroom when they are swimming. I know that in a few years they’re going to ignore my threat that the water will turn red, and they will just pee right there without missing a minute of pool time.
So anyway, yesterday we heard a grinding noise coming from the rear of the bus. Only for a few seconds when we took off from a stop, but it was noticeable. So this morning I crawled underneath and headed straight for the driveshaft—not because I know anything about cars, but because it was pretty much the only thing in the area that could have been making the type of noise we were hearing.
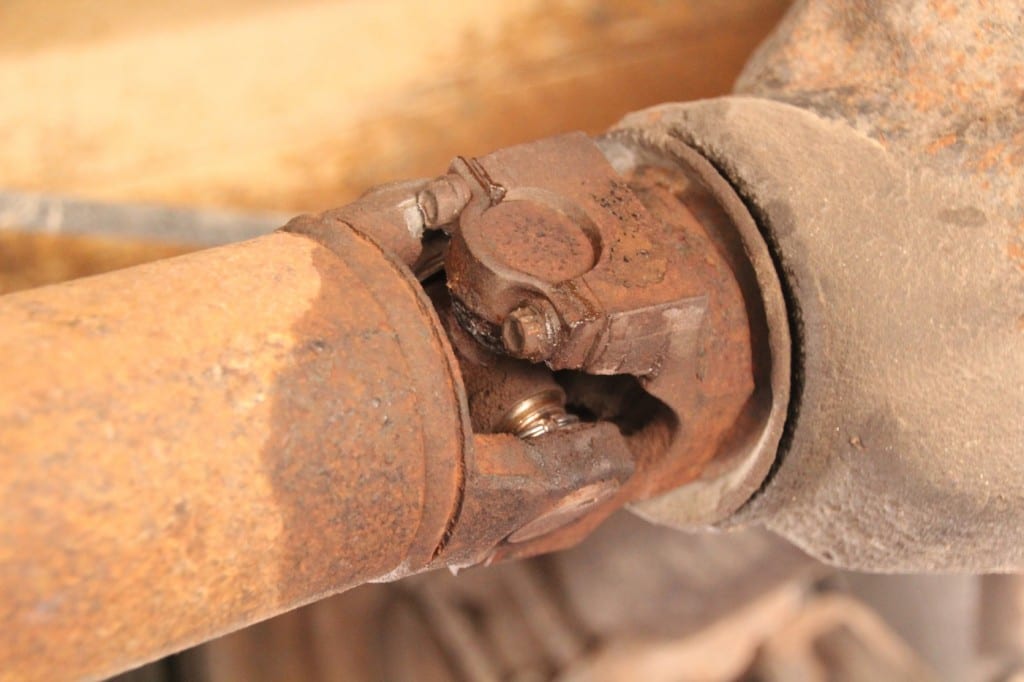
I immediately found the problem, a bearing thing-a-ma-bob looked worn and loose. We had internet at the time so I was able to discern that this was in fact what is called a U-Joint, or Universal Joint—and I’m fairly certain that anybody who knows anything about cars knew what this was already.
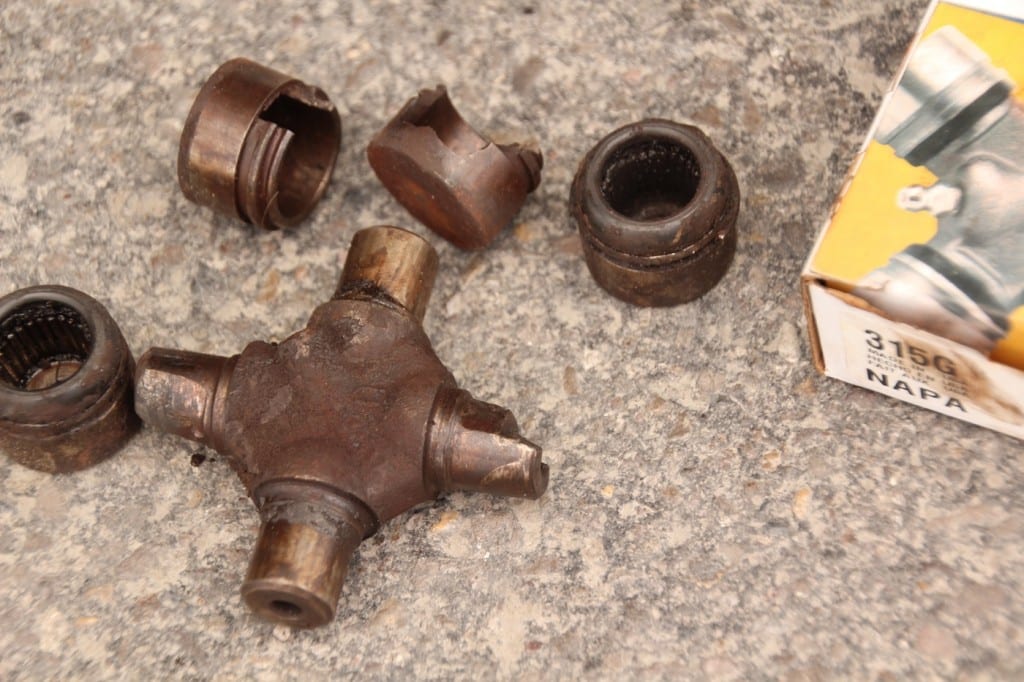
It looked worn out, but driveable to me, so on our way out of town we stopped in at NAPA. And wouldn’t you know it, they had the U-Joint in stock. I wasn’t sure the one he was showing me was the right one, so I went outside and crawled underneath for a closer look and discovered that the drive shaft was now ripping itself off of the joint. Clearly this needed to be addressed now, not later.
I told Ali, and she resigned herself to two hours at the McDonald’s playground down the street while I got to work.
The job wouldn’t have been difficult had the U-Joint not been in such bad shape. As it was it took quite a bit of coaxing/hammering to get off. When I finally succeeded at that, I installed the new one and then went about lining it back up and tightening the four bolts that hold it in place. Uggh, I thought I was done, but getting that thing lined back up was a chore—pulling, lifting, and spinning the drive shaft, then climbing out from underneath to push the bus forward a couple of inches and try again. Then out of the blue the entire thing just fell into place. I really have no idea what happened that made the little puzzle piece fall into place. I tightened the bolts and the job was done.
Ali and the kids had gotten home ten minutes earlier and were ready to leave. But first we had to reattach Molly’s head. We chose a yellow zip-tie from my collection, and Ali reattached the head while I washed the grease off my entire body. Molly was good as new. Ouest said, “Thank-you for fixing Molly, Papa.” I got 100% of the credit simply for having a small yellow zip-tie in my tool box.
I crawled into the driver’s seat without a word being spoken about the U-Joint. Either Ali has total faith in me, or she is sick of these little projects. Not sure which it is. I was forced to pat myself on my very sore back myself.
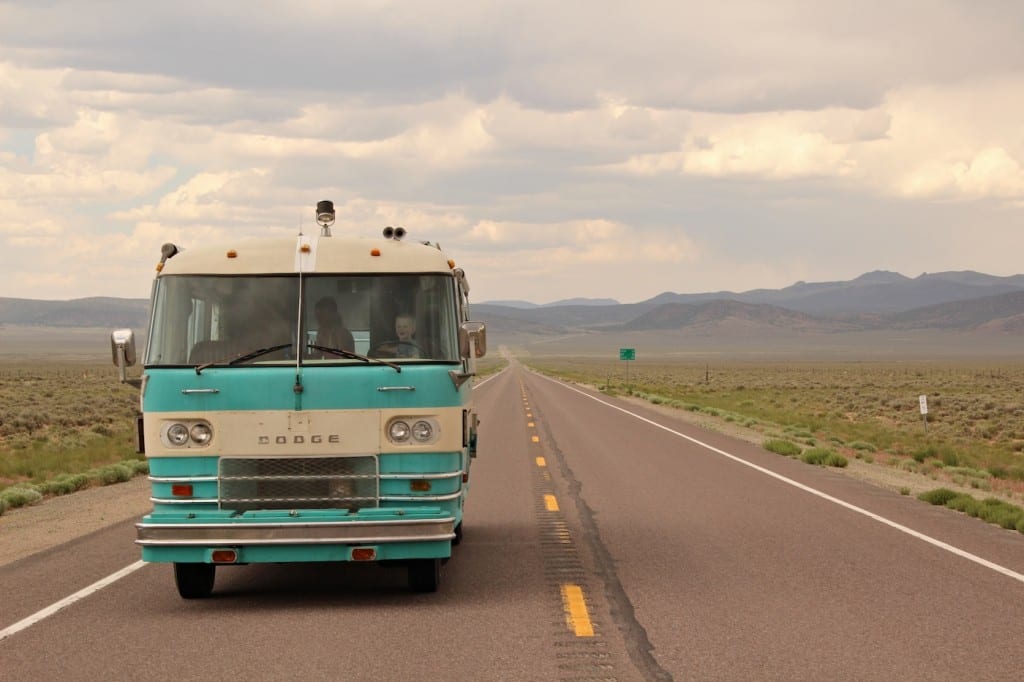
We drove out of town and headed for more mountains. Nevada is chock full of mountain ranges. But before we left this morning I had taken the advice of a couple of commenters and adjusted the timing. I advanced it about 6 degrees, I would guess, figuring that if it was any worse I could just turn it back.
As we hit that first big hill out of town I was holding my breath. Up the road we sped. I breathed out. It seems to have worked. We climbed a few hills today, one up to about 7,600 feet with a decent grade, which in the past week or so would have caused us all sorts of headaches. Instead we rumbled right on up at forty miles an hour or so. In second gear we were actually accelerating uphill. Basically unheard of for us in this bus. The temperature gauge never even approached being a problem.
So all in all it was a pretty good bus day. Once again I was reminded how inexpensive car problems are compared to boats. Eighteen bucks and we were on the road again. Remember that drive shaft coupler on the boat? What did that fiasco end up costing—five-hundred?
I get a lot of satisfaction every time I fix/replace something on the bus. I can’t believe that after all these years of fixing stuff on the fly I can still be confronted by new problems to solve.
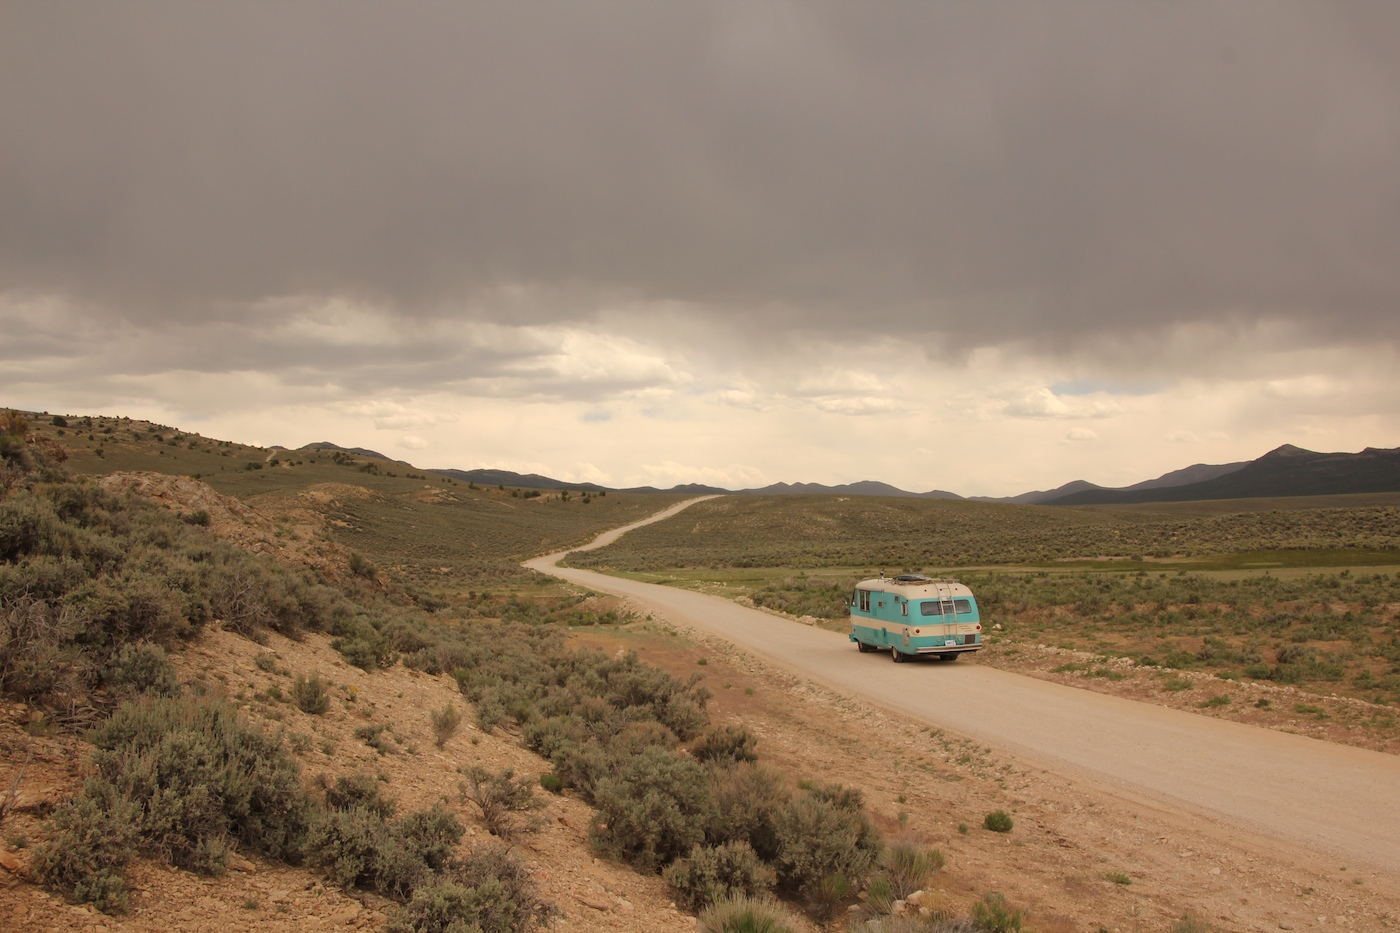
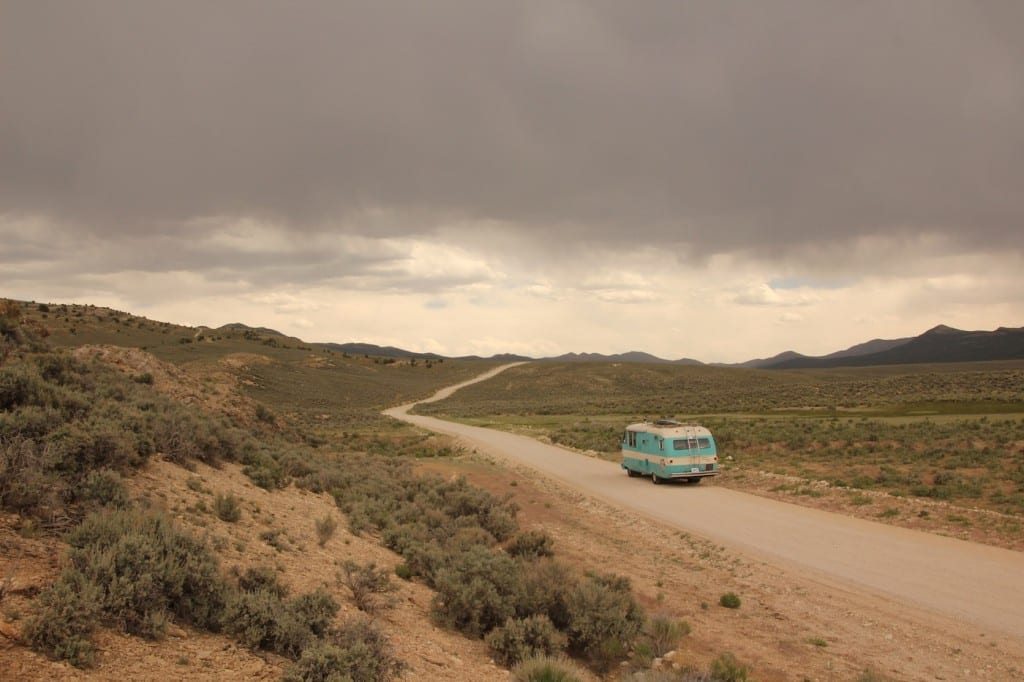
We only drove about forty miles before pulling into Illipah Reservoir—a free BLM campground. We got a pretty spot overlooking the reservoir and the green valley below where five wild mustangs, and two small children, spent the entire day eating, running, and rolling around in the dirt.









20 Comments on “U-Joint”
Went through 4 U-joints on my ’66 Sunbeam Tiger the first year until someone told me about adding sway bars to absorb the torque. I didn’t get my hands greasy, having it all done by mechs.
“But before we left this morning I had taken the advice of a couple of commenters and adjusted the timing. I advanced it about 6 degrees, I would guess, figuring that if it was any worse I could just turn it back.
As we hit that first big hill out of town I was holding my breath. Up the road we sped. I breathed out. It seems to have worked. We climbed a few hills today, one up to about 7,600 feet with a decent grade, which in the past week or so would have caused us all sorts of headaches. Instead we rumbled right on up at forty miles an hour or so. In second gear we were actually accelerating uphill. Basically unheard of for us in this bus. The temperature gauge never even approached being a problem.” /// This is a huge win. Blessings on you guys and keep on truckin’. And it’s no contest which is more painful between boat bucks and RV bucks. I’m still $bucking$ on the boat.
you might consider putting an extra U-Joint in you glove box. they are usually replaced in pairs.
you may now add molly Dolly Surgeon to your resume 🙂
I bought a second one so I could do the front of the drive shaft as well. Thought about adding that sentence in to the blog post, but then thought that I don’t have the time or energy to include every single detail of every single story.
Kinda sad you didn’t get any kuddo’s for your hard work and being able to sort it all out… but you have the smarts….always knew that from the beginning of this blog. Photography in this entry was like being there… You are so talented.
If I was a gambling man…. your headed to portland to see mom.
If you get it too advanced you will definitely get some audible pinging. No worries. Do you remember the story I told you about loosing the u-joint in the motorhome 1 mile from the edge of the grand canyon? That’s the part where my ex found all the parts to the old one down the road except for some of the needle bearings and we used squares of cloth and put them over the nipple and pounded the cap back on. Got us to a parts house but it wasn’t pretty. lol Enjoying the trip.
It might be worth investing in a timing light to set the timing properly. Can’t cost more than a few bucks and will cover is cost in saved fuel / increased performance / reduced engine wear in a couple of days.
They’re a thing of the past – sure there must be plenty bum friends with one or two mouldering in the bottom of their toolbox.
Be cool to add another arcane skill to your skill set 🙂
Should be plenty instructions on Google and the setting should be in the bus’s manual – it will be under something like ‘Timing: x deg advanced. But normally it’s just a matter of lining up marks on the fanbelt pulley with some reference mark on the engine while the engine is running.
Can also be done statically using an indicator bulb and some scrap wire. Google will assist.
If this is all telling you how to stuck eggs, please ignore.
Dig the pics.
Dave
I’ve actually got one already. Just haven’t figured out how to use it, or rather, I haven’t taken the time to figure out how to use it.
So I’m bored. Found a good enough description here:
First you need to find the small groove or slot cut into your harmonic balancer (fan belt pulley) and mark it with a piece of chalk to make it very visible.
Then find your timing indicator, it should be a small piece of metal about 2 inches long with notches cut in the side facing the radiator sticking out from the timing cover over the harmonic balancer and it has a 0 in the middle and either side of the 0 will be marks that should read 10, 20, 30, or possibly 5, 10, 15.
Those marks are degrees before and after Top Dead Center. Also on the timing indicator there should be a + on one side of the 0 and a – on the other side of 0. + meaning AFTER top dead center, and – being BEFORE top dead center. . next you will need to attach your timing light clamp to the #1 cylinder spark plug wire, and the power clamps to your battery. (#1 cylinder? Wikipedia sez: Cylinders were numbered from the front of the engine to the rear; cylinders 1, 3, 5 and 7 were found on the left (driver side) bank, or “bank 1”, with the even numbers on the other bank)
Then disconnect the vacuum line that runs to the spark advance on your distributor.
Crank the engine and let it idle. point the timing light at the timing indicator above the harmonic balancer, and the timing light should flash each time that #1 cylinder fires.
Each time the timing light blinks you should see the line you marked with chalk on the harmonic balancer. The line should appear in the same place each time in relation to the timing indicator. ideally you want the timing to read about 6 or 7 degrees BEFORE top dead center, or 0, on the timing indicator. (Me, I’d check the manual and see what it says the setting should be. But from other posts, it sounds like it’s 6 deg BTDC.)
If it does not, loosen the clamp that holds the distributor in place, it is at the base of the distributor where it goes into the intake manifold, and turn the distributor ever so slightly. if the mark appears to move farther from 7 degrees BEFORE top dead center then turn the distributor the opposite direction until you get it to read close to 6 or 7 degrees before top dead center.
You NEVER want it to read AFTER top dead center. A good indication that you have it right is that an engine properly timed runs smooth and has almost no shake or vibration.
(The irony is that you will probably haul out the timing light and find the timing is spot on already…)
Cheers
Dave
I had a VW Westfalia. Timing is critical for them. After driving halfway across Canada with no power I finally got so mad I searched The Samba forums and found what setting I should have for the timing. I bought a good timing light that lets you set the degrees you want and then you just need the TDC mark to make it work. For me the difference was like installing a new engine.
Dave’s instructions are right on for the old style timing light. I sure like my new style. Much easier.
Safe travels,
Don
Many years ago my family gave me for Christmas one year a timing light. I felt like it was too much trouble to learn how to use and so it rests at the bottom of some box out in my storage shed. First, if the engine does not ping then it is not advanced too much to be damaging. It will ping if advanced too much and also it will run with tiny jerks when you are running down the road with no pressure on the engine either to accelerate or decelerate In my 63 years of driving, maintaining, fixing my own cars, ( I am 77 years old )I set my distributor by letting the engine idle at operating temperature and turn the idle screw on the carburetor in until the rpm reach about 1200 rpm. Then begin turning the distributor until the engine is turning the fastest and then retard it slightly until you can hear the engine running the smoothest. Fastest will not be smoothest. This will accomplish perfect timing setting. You probably have a good setting now if power is improved and the engine does not overheat with no ping and no jerks. At least, as my musician friends say, you are “close enough for jazz “.
Heck with the timing light, Pat….you need one of these.
http://www.ebay.com/itm/Vintage-Travco-Beer-Bottle-Can-Opener-Cork-Screw-/161331716700?pt=LH_DefaultDomain_0&hash=item25901ea25c
A friend told me his experience in an old Chrysler van when the front u-joints gave up. The drive shaft dug into the soft asphalt and the van did something close to the nautical equivalent of pitch poling. The van was a total wreck as a result.
Love Nevada, lived there in the 70’s in Washoe valley. Travelled in our pick up camper. Don’t miss the hot springs in Gardinerville….
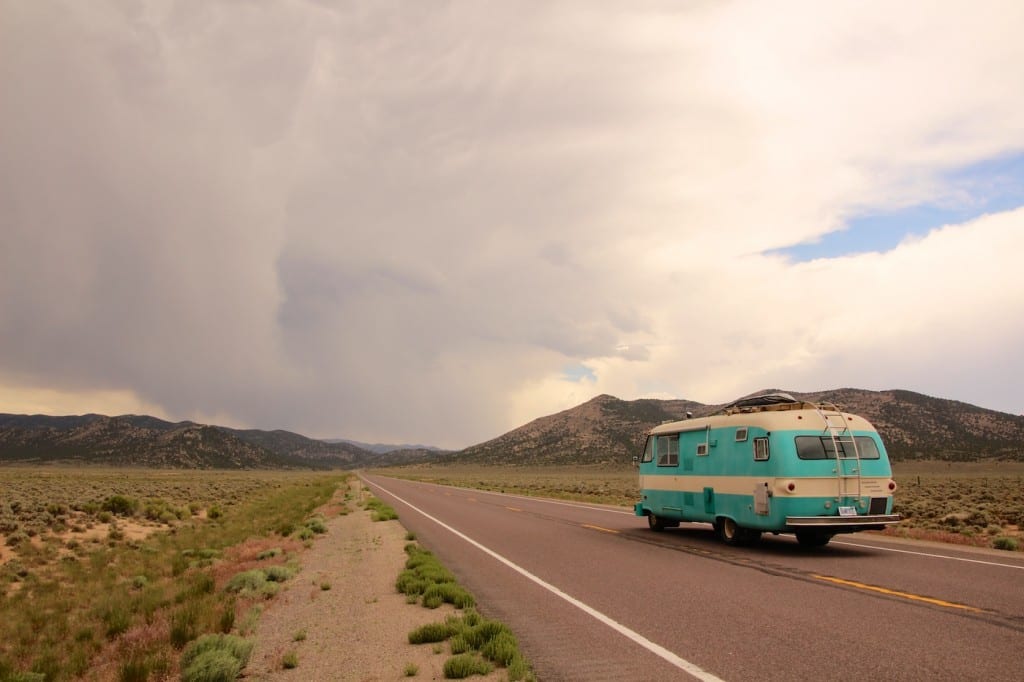
Virga rain over desert mountains — nice meteorological pics.
Luckily the rear u-joints almost always go bad first.
Hopefully they have a grease fitting on them – and can be regreased now and then. Sometimes you need a special small width or needle shaped grease gun tip, to fit onto the zerk fittings nestled in the U-joints. If there isnt an arc of grease above the u-joint, where its been flung out while spinning, then there should be.
I’ve only just come across your blog and I’m so excited to read your story! We are at the beginning stages of starting long term travel- but it appears we have children of pretty much the same age.- ours are three and five. We are looking into buying a sailboat and I so enjoyed your cat vs mono posts. And I laughed out loud when you said how much cheaper it is to work on the van than it was the boat!!
We are in Northern California, not far from you if you need a hot shower and some kid time! Would be a treat to get to meet you and ganer some of your wisdom before we start! We also spend a lot of tome on Tahoe on our little 22′ sailboat – if that could be a rendezvous point. Anyway – really pleased to have founded you virtually.
Pat, you mentioned how cheap it is to work on the bus. After watching your Utah video, I thought wait until he changes that $2.00 exhaust donut!
I have changed many u joints, nothing is easy. You mentioned spinning the driveshaft to get things re-assembled. unless you made markings on both sides there is a possibility it went back 180 degrees out of phase. There are markings on each side of the flange & shaft that should align:
http://www.johnsonpower.com/catalog_pdfs/Johnson%20Power%20-%20U.%20Joint%20-%20Installation%20&%20Maintenance.pdf
https://www.google.com/?gws_rd=ssl#q=u+joint+alignment
Paul Thomas
“I crawled into the driver’s seat without a word being spoken about the U-Joint.” Hehehe. I get that too! It’s a Dad’s duty!